General Settings Option
From the Home screen, press and hold the Settings key for 2 seconds to load the Configuration screen. Navigate to the General option and press the Select key to load the General screen.

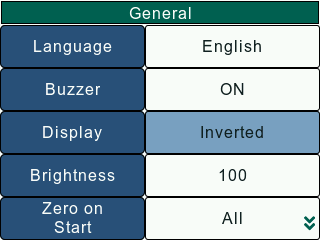
The General screen can be used to set the following parameters –
Language
The Language setting allows the user to change the gauge language.
On the General screen, use the Navigation keys to set the cursor on the Language setting. To change the language, press the Select key to open a list with available languages. The user will have to exit the Configuration screen and save changes for the gauge language to change.
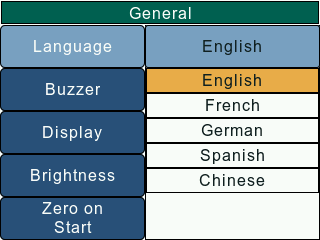
The DF3 Series supports following languages -
- English
- French
- German
- Spanish
- Chinese
Key Tones
The Key Tones setting allows the user to switch ON/OFF key press buzzer.
On the General screen, use the Navigation keys to set the cursor on the Key Tones setting. To change the Key Tones state, press the Select key to toggle the between ON/OFF states. The user will have to exit the Configuration screen and save changes for the Key Tones state to change.

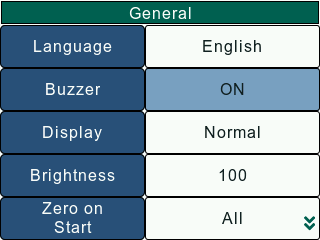
If the Key Tones setting is ON, the gauge will notify the user on each key press with a single beep.
If the Key Tones setting is OFF, the user isn’t notified on key press.
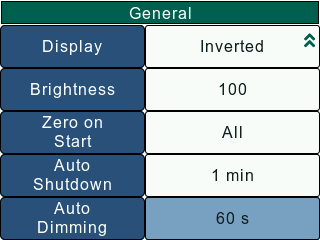
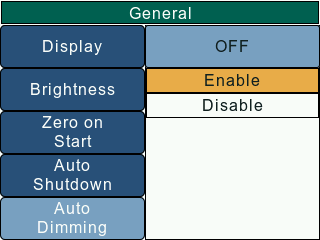
Display
The Display setting allows the user to change the display orientation.
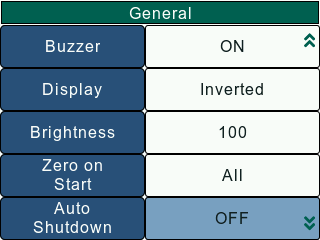
On the General screen, use the Navigation keys to set the cursor on the Orientation setting. To change the orientation, press the Select key to toggle between Normal and Inverted display. The user will have to exit the Configuration screen and save changes for the display orientation to change.
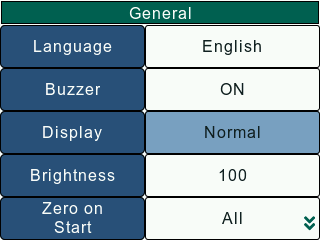
If the Orientation option is Normal, displayed information is presented right-side down. The Function keys map to the function tags.
If the Orientation option is Inverted, displayed information is presented upside down. The Function and Navigation key functionalities are swapped.
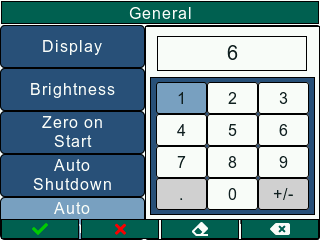
Brightness
The Brightness setting allows the user to adjust the display backlight.
On the General screen, use the Navigation keys to set the cursor on the Brightness setting. To change the brightness, press the Select key to open a numeric keypad. F1 key should be pressed to confirm the input and F2 key can be pressed to close the numeric keypad. The user will have to exit the Configuration screen and save changes for the display backlight to change.
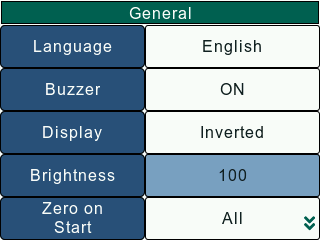
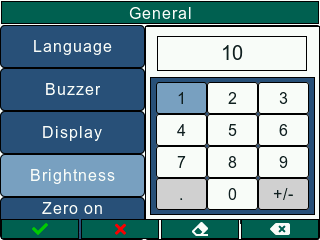
The user can enter a value between (0 -100) based on his/her preference.
Zero On Start
The Zero On Start setting allows the user to select what values to be Zeroed when the device boots up.
On the General screen, use the Navigation keys to set the cursor on the Zero On Start setting. To change the Zero On Start setting, press the Select key to open a list with available options. The user will have to exit the Configuration screen and save changes for the Zero On Start setting to change.
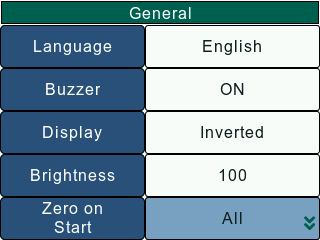
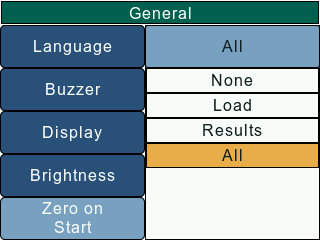
The DF3 Series allows the user to select one of the following readings as the Zero On Start option -
- None
- Load
- Results
- All
Auto Shutdown
The Auto Shutdown setting, when enabled, powers down the gauge after a set duration of inactivity. When enabled, the user can set the Auto Shutdown Timeout, which determines the duration of inactivity after which the gauge powers down.
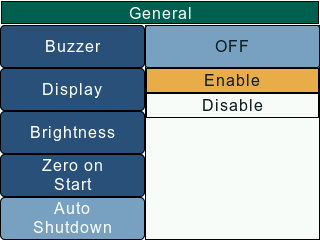
On the General screen, use the Navigation keys to set the cursor on the Auto Shutdown setting. To change the Auto Shutdown setting, press the Select key to open a list to enable/disable Auto Shutdown. If enabled, a numeric keypad is setup to accept the Auto Shutdown timeout. F1 key should be pressed to confirm the input and F2 key can be pressed to close the numeric keypad. The user will have to exit the Configuration screen and save changes for the Auto Shutdown setting to change.
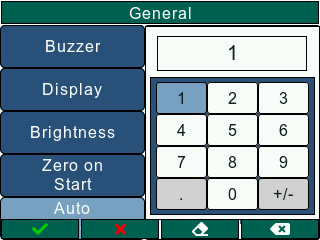

The user can set a value between 1 - 300 minutes as the Auto Shutdown timeout.
Auto Dimming
The Auto Dimming setting, when enabled, dims the display backlight to minimum after a set duration of inactivity. When enabled, the user can set the Auto Dimming Timeout, which determines the duration of inactivity after which the display backlight is dimmed.

On the General screen, use the Navigation keys to set the cursor on the Auto Dimming setting. To change the Auto Dimming setting, press the Select key to open a list to enable/disable Auto Dimming. If enabled, a numeric keypad is setup to accept the Auto Dimming timeout. F1 key should be pressed to confirm the input and F2 key can be pressed to close the numeric keypad. The user will have to exit the Configuration screen and save changes for the Auto Dimming setting to change.
The user can set a value between 10 - 3600 seconds as the Auto Dimming timeout.